
Working with Conda
Databricks can support Conda based environments. FSDH provides two options for users to work with Conda.
- Project specific Docker image with Conda support and a predefined Conda environment. The Docker image needs to be co-developed with the FSDH support team and pushed to GitHub Container Registry (GHCR).
- Generic Docker image with Conda support. Users will need to install packages in their notebooks.
For illustration purposes, the following steps are based on option 1.
Step 1: Create environment YAML
Sample code for env.yml. Skip to Step 3 if using an existing Docker image.
name: fsdh-sample
channels:
  - bioconda
  - default
dependencies:
  - python=3.8.16
  - pip=23.0.1
  - six=1.16.0
  - ipython=8.12.0
  - nomkl=3.0
  - numpy=1.24.3
  - pandas=1.1.5
  - traitlets=5.7.1
  - wheel=0.38.4
  - hifiasm=0.16.1
  - pip:
    - pyarrow==1.0.1
Step 2. Build and Push the Image
The FSDH team builds and pushes the image to GitHub. Skip to Step 3 if using an existing Docker image.
docker build -t fsdh-sample .
export GHCR_PAT="XXX"
echo $GHCR_PAT|docker login ghcr.io -u <username> --password-stdin
docker tag fsdh-sample ghcr.io/ssc-sp/fsdh-sample:latest
docker push ghcr.io/ssc-sp/fsdh-sample:latest
Step 3. Create a cluster
- Ask your admin to enable Container Service for your Databricks workspace.
- Create a cluster with access mode "No Isolation Shared"
- Choose a runtime of 10.4-LTS, 9.1-LTS or 7.3-LTS
- Under Advance -> Docker, use image
ghcr.io/ssc-sp/fsdh-sample:latest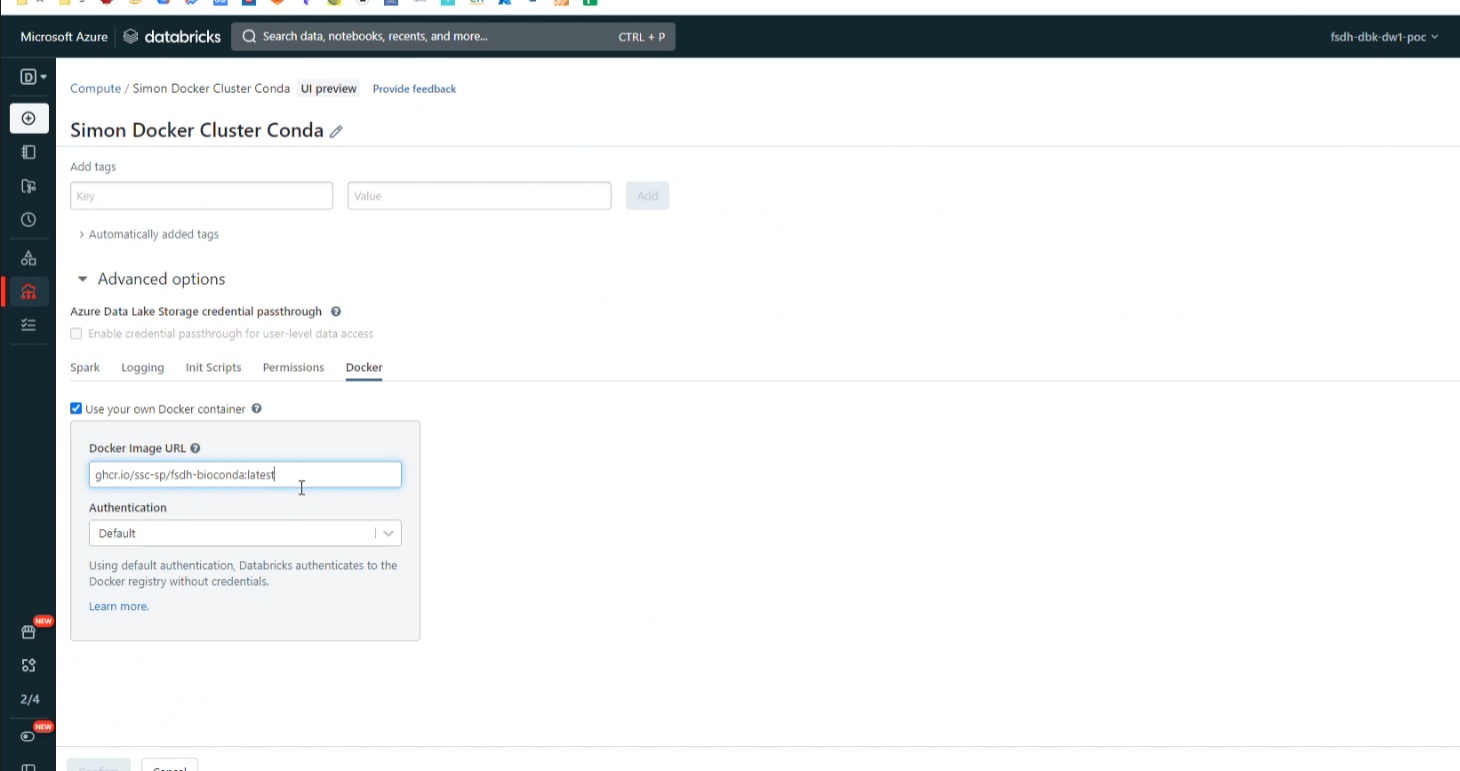
Step 4. Validate the Cluster
Run the following code:
%sh
conda list